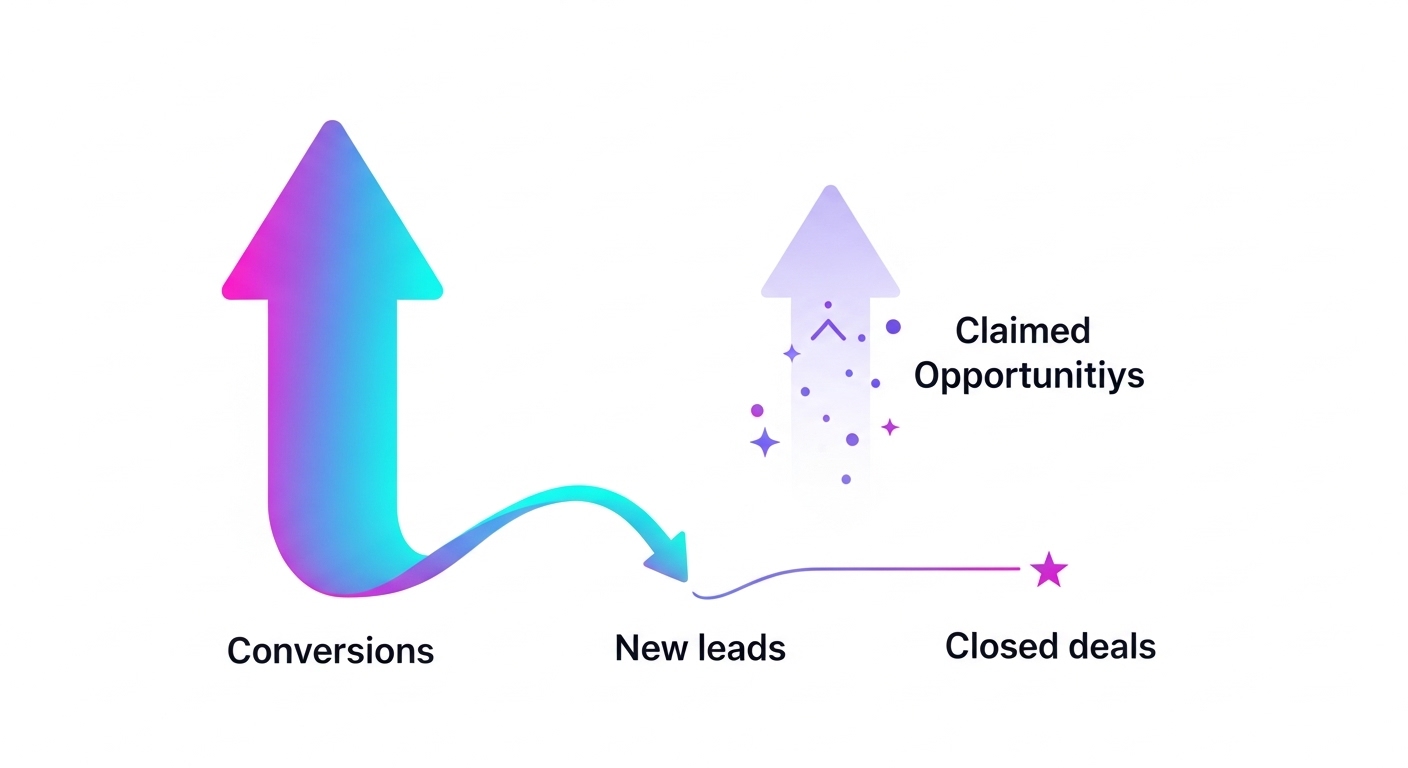
Your Google Ads dashboard shows 50 conversions. Your CRM shows 32 new leads. Your sales team closed 3 deals, but Google claims credit for 7 opportunities.
This isn't a tracking error you can ignore — it's a fundamental disconnect between what your ads platform thinks is working and what's actually driving revenue. For performance marketers in B2B, especially in technical sectors like cybersecurity, this discrepancy can lead to catastrophically bad optimization decisions.
The core issue: conversion events fire at multiple funnel stages, existing leads re-engage through paid channels, and attribution windows don't align with your actual sales cycle. When Google Ads optimizes toward inflated conversion counts instead of genuine pipeline quality, you waste budget on traffic that looks good in dashboards but dies in your CRM.
This guide walks you through diagnosing and fixing the lead volume-to-revenue disconnect using offline conversion tracking, proper CRM integration, and permission-level configurations that most marketers overlook.
The mismatch between ad platform conversions and CRM lead counts stems from three fundamental issues:
1. Multi-Stage Conversion Counting
When you import offline conversions from your CRM (HubSpot, Salesforce), platforms like Google Ads and LinkedIn count each lifecycle stage transition as a separate conversion event. A single lead progressing from MQL → SQL → Opportunity generates three conversion events, even though it's one person.
According to our campaign data analysis: "When the leads gets to SQL, the same conversion thing will happen with an SQL but it will stay both in MQL stage and in SQL stage." This creates artificial inflation in your conversion metrics.
2. Existing Lead Re-Engagement
Your remarketing campaigns target website visitors and previous form-fillers. When an existing CRM contact fills out another form or reaches a new lifecycle stage, ad platforms count it as a conversion. Your CRM correctly recognizes this as an existing contact, not a new lead.
This is especially problematic for LinkedIn campaigns: "We get so many MQLs from leads that have entered the CRM previously." The platform reports a conversion; your new lead count stays flat.
3. Cookie Rejection and Attribution Loss
When users reject cookie consent, Google Ads may still track conversions through enhanced conversions (hashed email matching), but your CRM loses the UTM parameters needed for attribution. The lead exists in your CRM but appears as "direct" traffic instead of paid.
As our analytics team identified: "Google Ads could still track a lead when HubSpot maybe doesn't" attribute it correctly. You see the conversion in Google but can't find it in your paid channel reports.
Here's why this matters beyond reporting: Google Ads' algorithm optimizes toward whatever you mark as a primary conversion. If you're counting MQLs, SQLs, and Opportunities all as primary conversions, the algorithm learns to drive any of those events — including moving existing leads through stages — rather than acquiring new, qualified prospects.
From our client work: "There were issues with the algorithm and overall there are very low number of conversions in the account. Typically you have to have minimum 30, the bare minimum is 15 and this is per campaign." When marketers try to hit minimum conversion thresholds by including multiple lifecycle stages, they inadvertently teach the algorithm the wrong lesson.
Before implementing this debugging process, ensure you have:
Start by documenting every conversion action tracked in your ad platforms. In Google Ads, navigate to Tools & Settings → Measurement → Conversions and export the full list.
For each conversion action, document:
Create a tracking plan spreadsheet with these columns. This becomes your single source of truth.
Review your conversion list for lifecycle stage imports. If you see conversions like:
And all are marked as Primary conversions, you have guaranteed double-counting. Each lead progressing through stages fires multiple conversion events, inflating your totals.
According to best practices: "It is not best practice to use at the same time form submissions and these stages." Choose one: either optimize for initial form fills OR for lifecycle progression, not both simultaneously.
In Google Ads, go to Conversions → Settings → Enhanced Conversions. If enabled, Google hashes user-provided data (email, phone) to match conversions even without cookies.
The platform recommends this to "better optimize the delivery of your ads through increasing contact matches." However, this can create discrepancies: Google sees conversions your CRM attributes elsewhere due to missing UTM parameters.
Document whether enhanced conversions are active and what data fields are being hashed (email, phone, address).
Set up a monthly tracking sheet with these data points:
Column A: Data Source
- Google Ads Reported Conversions
- LinkedIn Reported Conversions
- HubSpot/CRM New Leads (by source)
- HubSpot/CRM MQLs (by source)
- HubSpot/CRM Opportunities (by source)
Column B-D: Time Periods - Current Month - Previous Month - Quarter-to-Date
Column E: Discrepancy % - Calculate: (Platform Number - CRM Number) / CRM Number
From our campaign analysis: "This is from the 1st of March to the end of May" — use consistent monthly or quarterly windows to identify trends.
The critical step most marketers skip: segment your CRM data by campaign, not just by channel.
In HubSpot, create a custom report: 1. Navigate to Reports → Custom Reports 2. Set object type to Contacts 3. Filter by Original Source = Paid Search (or Paid Social) 4. Add filter: Ad Campaign Name contains [Campaign Name] 5. Group by Lifecycle Stage 6. Date range: Match your ad platform reporting period
This reveals: "When we look at the overall number, it's a bit difficult to tell where exactly that discrepancy is coming from." Campaign-level analysis exposes which specific campaigns have attribution issues.
LinkedIn and Google both track view-through conversions — users who saw your ad but converted through another source. These appear in platform reporting but may not have proper UTM attribution in your CRM.
As identified in our LinkedIn analysis: "When we have view conversions, which is basically when someone viewed the ad and very soon after that clicked through another source, then that cannot be reflected in the CRM because there wasn't a click involved directly from the ad."
Create a separate column in your reconciliation sheet for estimated view-through impact. Typically 15-30% of reported conversions in awareness campaigns.
Offline conversions bridge the gap between initial ad click and downstream revenue events. Here's how to implement them without creating double-counting:
In Google Ads:
Critical configuration: Set Count = One for lifecycle stages. You want to count each unique lead once per stage, not every time they re-engage.
Here's the rule: Primary conversions drive optimization. Secondary conversions provide visibility.
For most B2B campaigns, this configuration works best:
Primary Conversions (algorithm optimizes for these): - Form submissions (demo requests, contact forms) - OR SQL stage (if you have enough volume)
Secondary Conversions (tracking only): - MQL stage - Opportunity stage - Newsletter signups - Content downloads - View-through conversions
From our implementation experience: "We try to separate the score as well as the newsletter subscription just to show the algorithm the account that we don't need to focus on that and exclude it from the target."
If you mark everything as Primary, Google optimizes for whatever's easiest to generate — often low-quality form fills or existing lead re-engagement.
When importing offline conversions, you'll inevitably include existing CRM contacts who re-engaged through paid channels. The platform counts these as conversions; your "new leads" metric doesn't increase.
Two solutions:
Option 1: Filter Imports by Create Date
Only import conversions for contacts created within your attribution window (e.g., 30 days). This ensures you're only counting genuinely new leads influenced by current campaigns.
In HubSpot workflows: - Trigger: Contact lifecycle stage changes to SQL - Filter: Contact Create Date is within 30 days - Action: Send conversion to Google Ads
Option 2: Create Separate Conversion Actions
Set up distinct conversions for: - "New Lead - SQL" (contact created < 30 days ago) - "Existing Lead - SQL" (contact created > 30 days ago)
Mark only "New Lead" conversions as Primary. This preserves visibility into re-engagement while focusing optimization on new acquisition.
Google's enhanced conversions and offline conversion matching require specific data permissions. However, over-sharing can create privacy concerns and attribution confusion.
Navigate to Tools & Settings → Data Manager → Data Sharing:
Recommended Settings: - Google signals: Enable (allows cross-device attribution) - Personalized advertising: Enable (required for remarketing) - Enhanced conversions: Enable (improves match rates) - Conversion data sharing: Set to "Share aggregate data only"
The last setting is critical. Full conversion data sharing means "Google can see more contact data to better optimize." But this also means Google may attribute conversions differently than your CRM, creating larger discrepancies.
In HubSpot, go to Settings → Integrations → Connected Apps → Google Ads:
Verify these permission settings:
- Sync contacts: Enabled
- Sync lifecycle stages: Enabled
- Sync deal stages: Enabled
- Include historical data: Disabled (unless intentionally backfilling)
The historical data setting is crucial. If enabled, Google Ads will import every lifecycle stage change from your entire CRM history, creating massive conversion inflation.
The most common cause of attribution loss: UTM parameters don't persist through multi-page sessions or form submissions.
In HubSpot: 1. Go to Settings → Tracking & Analytics → Tracking Code 2. Enable Store UTM parameters in cookies 3. Set cookie duration to match your sales cycle (90-180 days for B2B)
In Google Tag Manager:
1. Create a Variable: Cookie - First Party → Name: utm_campaign
2. Create a Variable: Cookie - First Party → Name: utm_source
3. Add these as hidden fields in your form submissions
This ensures that even if a user returns to your site directly (without UTM parameters), their original campaign attribution is preserved.
For B2B campaigns, especially in technical sectors, the real test of campaign quality isn't lead volume — it's pipeline generation. A campaign that generates 100 MQLs but zero opportunities is failing, regardless of what your cost-per-lead metric shows.
Set up opportunity-stage tracking:
In Salesforce: 1. Create a Process Builder or Flow 2. Trigger: Opportunity Stage changes to "Qualified" (or your first real sales stage) 3. Action: Send conversion to Google Ads via API 4. Include: Opportunity Amount, Close Date, Campaign Source
In HubSpot: 1. Navigate to Automation → Workflows 2. Create deal-based workflow 3. Trigger: Deal stage is "Opportunity" 4. Action: Send conversion event to Google Ads 5. Map deal properties to conversion fields
Google Ads performs better when you assign actual monetary values to conversions. This allows value-based bidding strategies.
For opportunity conversions: - Conversion Value: Use actual deal amount - Value rules: Set to "Use different values for each conversion"
For earlier-stage conversions (MQL, SQL):
- Calculate your historical conversion rate to opportunity
- Calculate your average deal size
- Conversion Value = (Deal Size × Conversion Rate)
Example: If 20% of SQLs become opportunities, and your average deal is $50,000: - SQL Conversion Value = $50,000 × 0.20 = $10,000
This teaches the algorithm to value conversions by their likely revenue impact, not just volume.
Even with proper offline conversion setup, you'll see discrepancies between Google's reported opportunities and your CRM's attributed opportunities.
From our client analysis: "I see only one SQL and that's it. Whereas on LinkedIn I see three MQLs, 26 SQLs and two opportunities which again I know some of these are lifecycle changes."
Create a monthly audit: 1. Export all opportunities from CRM with Original Source = Paid 2. Export all opportunity conversions from Google Ads 3. Match by email or deal ID 4. Identify unmatched records
Common causes of unmatched opportunities: - CRM shows opportunity, Google doesn't: Conversion happened outside attribution window, or email matching failed - Google shows opportunity, CRM doesn't: Existing lead re-engaged, or lifecycle stage change (not new opportunity)
Once you've identified which conversions represent genuine new pipeline, restructure your bidding:
For Campaigns with 30+ True Conversions/Month: - Switch to Target CPA or Maximize Conversions - Set Primary conversion to: Form submissions OR SQL stage (not both) - Set Secondary conversions to: All other lifecycle stages
For Campaigns with 15-29 True Conversions/Month: - Use Maximize Clicks with manual CPC adjustments - Set observation conversions (not optimization targets) for lifecycle stages - Review search term reports weekly to exclude low-intent queries
For Campaigns with <15 True Conversions/Month: - Stick with Manual CPC - Don't use automated bidding — insufficient data for algorithm learning - Consider consolidating into broader campaigns to pool conversion data
From our implementation experience: "We had struggles having even at least 15 per account. That's why we started using all of these conversions to kind of mask what is happening in the algorithm."
This is a trap. It's better to use manual bidding with clean data than automated bidding with inflated conversion counts.
If your discrepancy analysis reveals significant existing lead re-engagement, create audience exclusions:
This prevents your prospecting campaigns from spending budget on people already in your CRM, reducing false conversions.
Important: Don't exclude from remarketing campaigns — those are designed to re-engage existing contacts.
Google Ads allows you to adjust conversion values based on audience characteristics or behavior. Use this to deprioritize low-quality conversions:
Example Value Rules: